Overview
Who says briefing has to be complicated? Not us!
With our intuitive, user-friendly brief, you don't need to be an ad creative expert to achieve your campaign goals. The simplified brief design process gives you clear options to select from at each step, making it easy to create a well-made brief.
Our helpful hints facilitate the process, allowing you to add all your key requirements in a breeze and helping you launch your campaign faster.
1. Selecting or Creating a brand
First you need to select the brand you wish to advertise for this campaign
If the brand is not created yet, you can click on “+ Add Brand” and fill the details (Brand logo, brand name, brand site and quick summary of the brand). Click on “Add Brand” to add it to your list of brands.
If you wish to edit an existing brand, you can click on the pencil next to the name of the brand you would like to edit on the brand drop down menu.
2. Choosing a campaign name
Enter your campaign name. Remember that Creators will this first when searching for campaigns to apply, so it's important to make it descriptive and appealing.
3. Selecting a campaign goal and strategy
Select the campaign goal that best suits what you're looking to achieve with this campaign, and the strategy you'd like to use.
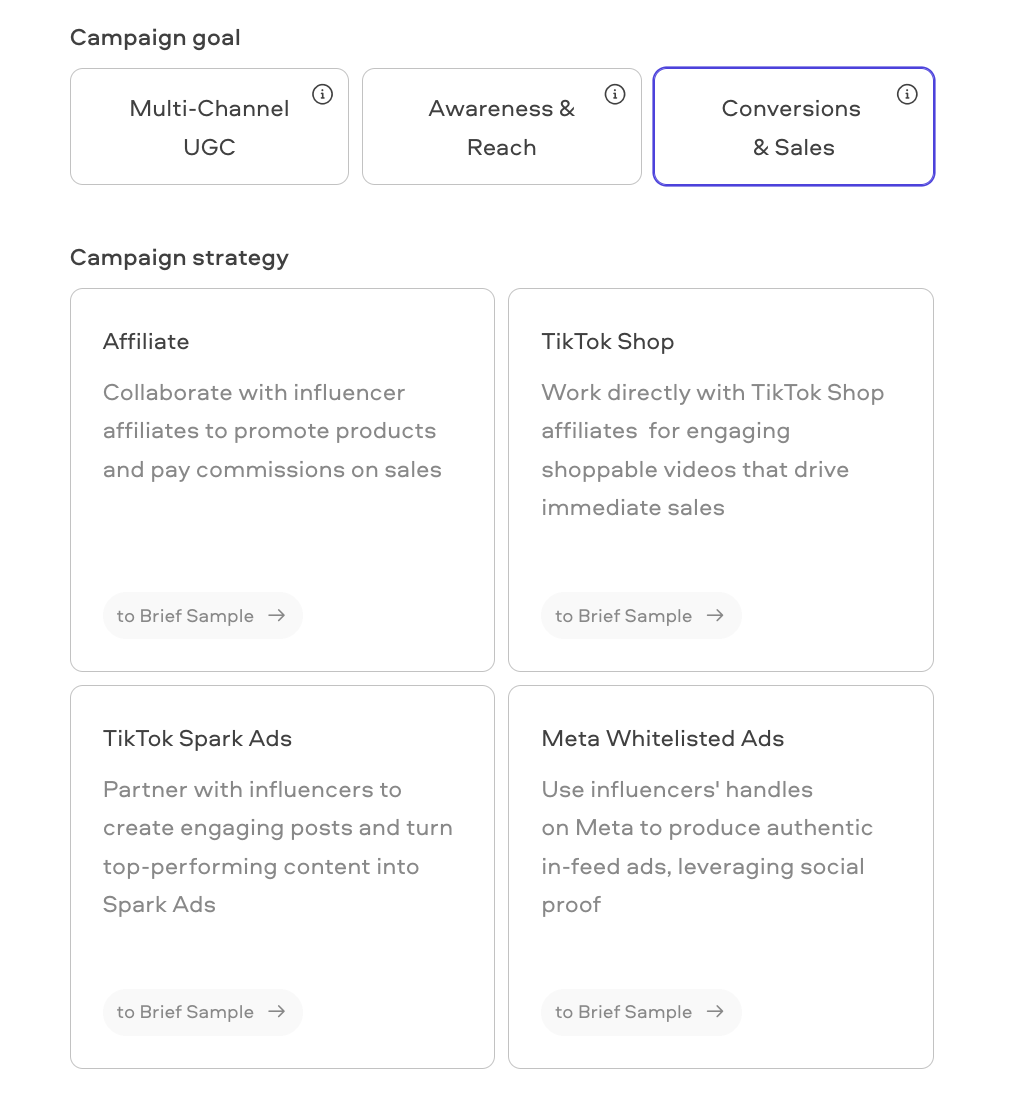
For more details on each of the Campaign Strategies, please check out these articles collections:
- User-Generated Content Campaigns;
- Meta Whitelisted Ads Campaigns;
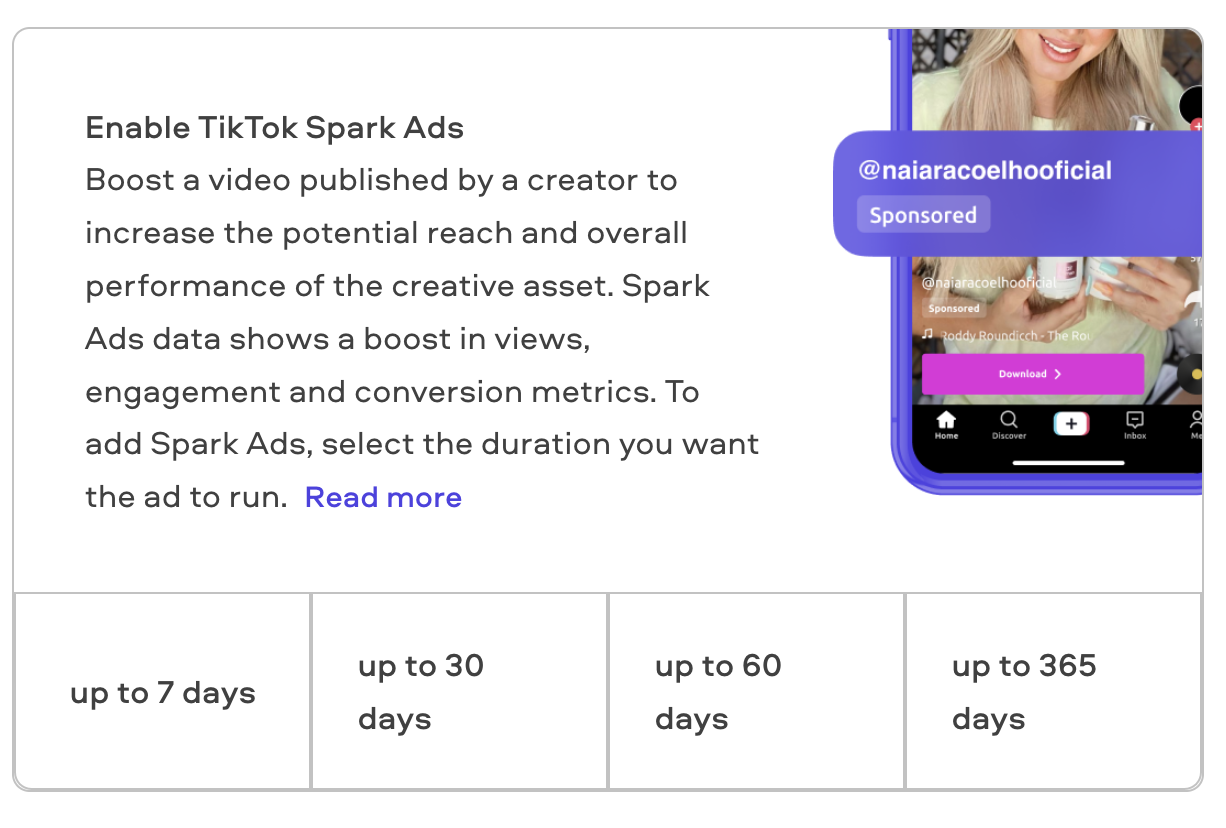
4. Selecting a platform (Setting up paid ads)
Choose the platform that you’d like creators to produce content for. If you want to select a different platform or 2 or more of the options, you can choose “Other”.
If you selected a strategy that is tailored to a specific platform, such as "TikTok Shop" this step will be skipped.
And for TikTok Spark Ads, you'll be prompted to select the duration for the spark ads connection.
5. Setting up a price range and commissions rate (if applicable)
Select from the ranges given, how many creators are you looking to hire for this campaign. This helps measure campaign health based on hiring once the campaign is live.
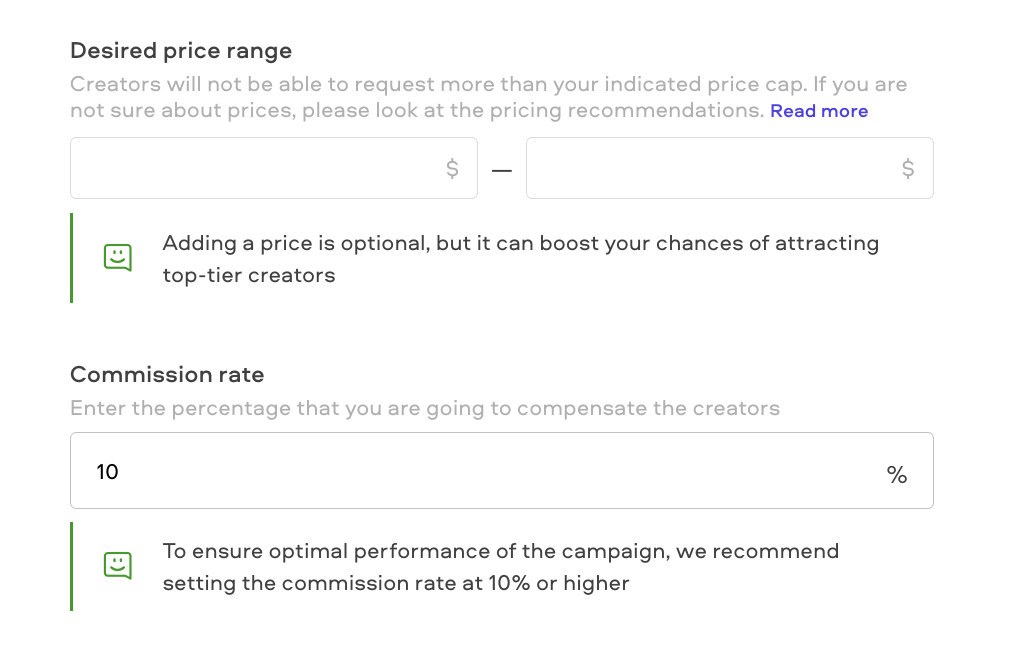
When in doubt, please take a look at this guide: How much should I pay Creators?
6. Choosing your hiring goal
Select from the ranges given, how many creators are you looking to hire for this campaign. This helps measure campaign health based on hiring once the campaign is live.
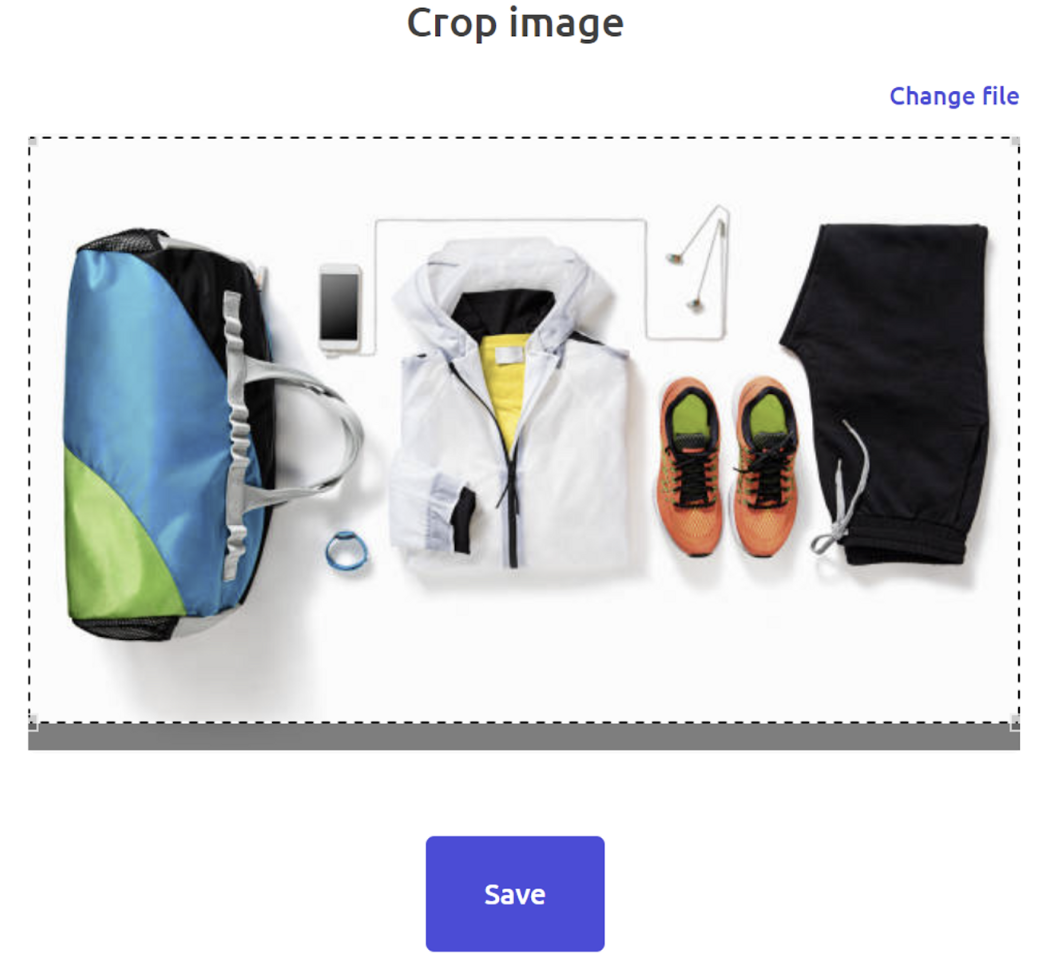
7. Adding product image
Click on “Upload image” to add a photo of the product you wish to advertise. This picture will be used as your campaign cover.
After selecting the right image from your computer, make sure to crop it and click on “Save” to add this picture.
8. Selecting product delivery
Select how your product will reach the creators you will be collaborating with. You can hover over the “i” to see a short description of each method.
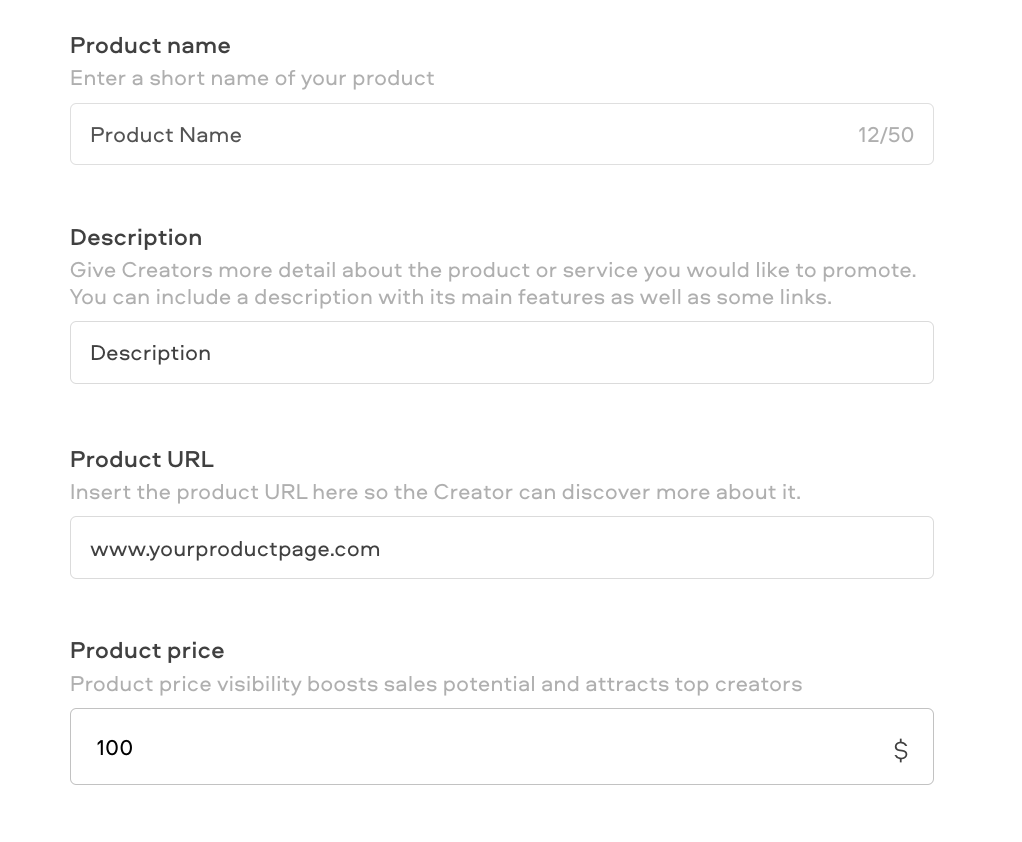
9. Setting up your product details
Fill out the product name, description, URL and price, so creators can know more about the product for the purpose of the collaboration.
10. Selecting your campaign privacy
Choose whether your brief will be seen by all creators matching your criteria, or just a few manually selected by you.
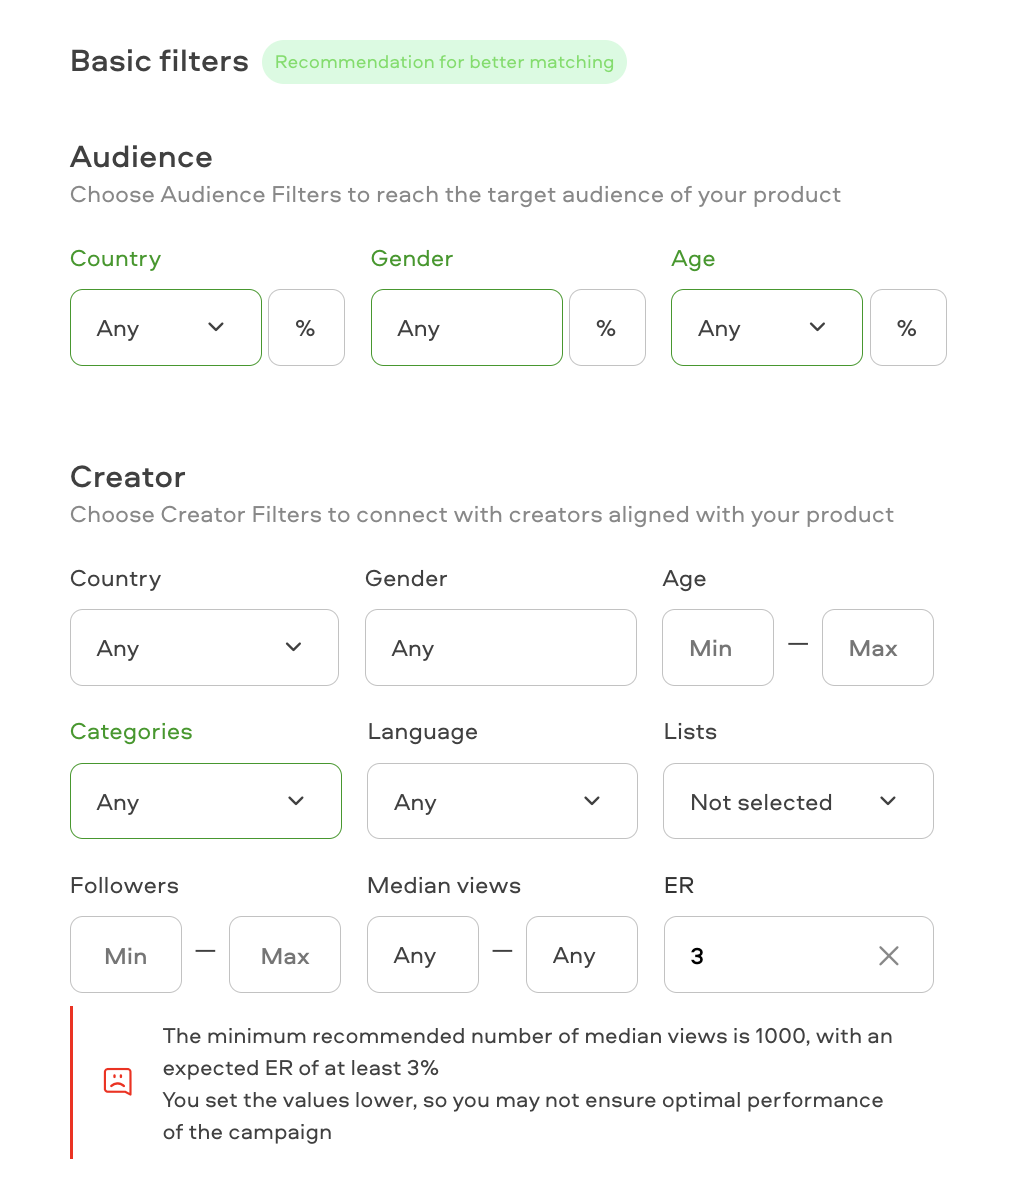
11. Selecting the right profile filters
If you selected “public”, you will need to select the right filters for the creators you are looking for. These will be adaptive according to your campaign type, to help you set up and focus on the most crucial points.
Our platform will automatically highlight the recommended filters to add, depending on your campaign type, and give you details on the specific metrics to filter for your campaign.
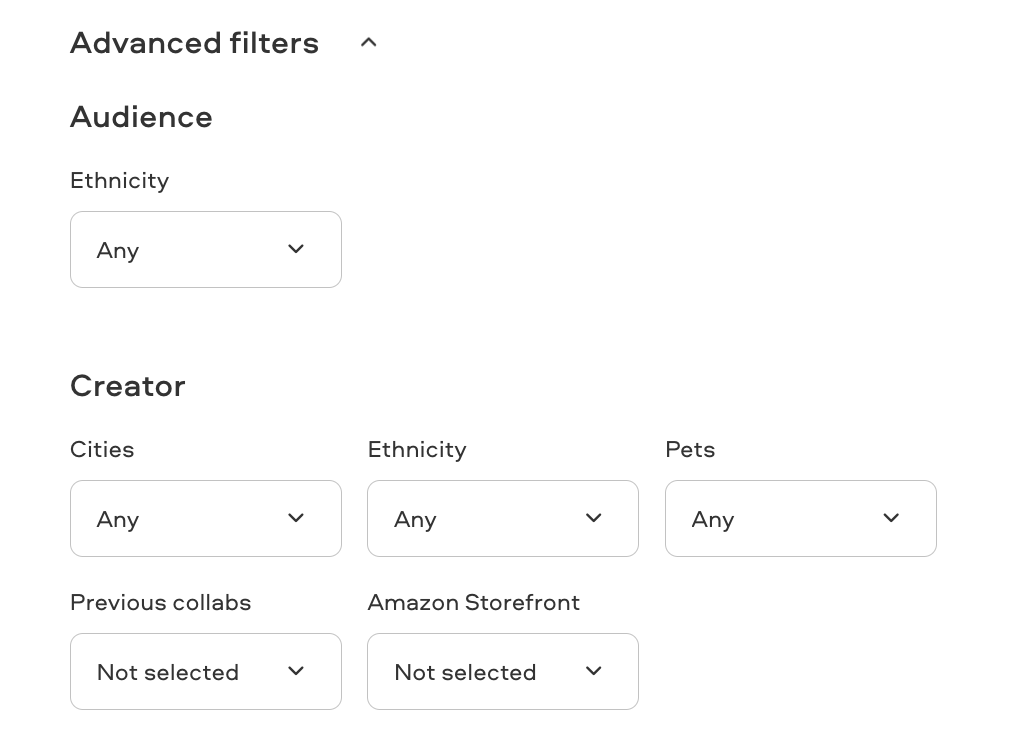
In case you need even more specific filters, expand the section "Advanced Filters"
12. Showing look-a-like profiles (optional)
Add sample profiles that the platform will use as reference in order to find and match you with similar ones.
In order to do this, enter the link of the sample profile and then hit “enter” to add it to your list of lookalikes. These should be added one by one.
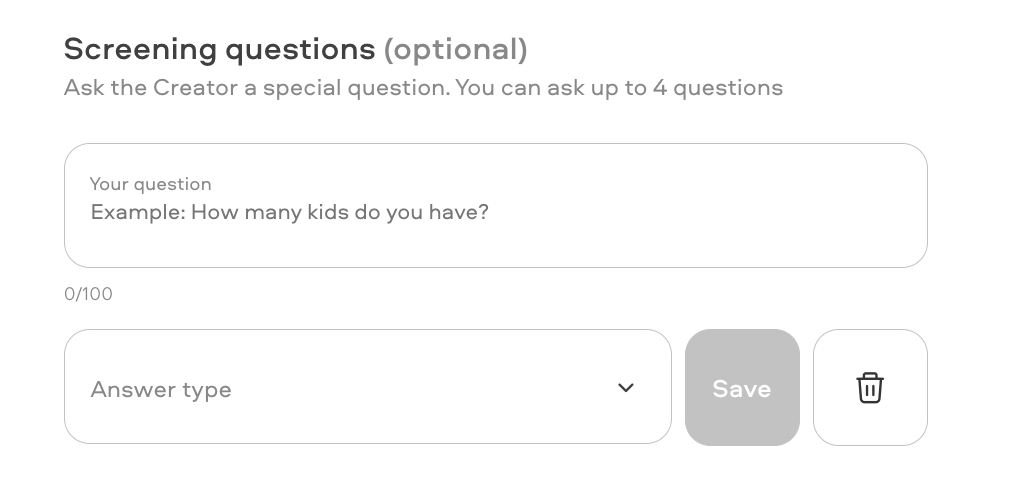
13. Setting up your screening question (optional)
Add a relevant question for your matching/screening process that the creators will have to ask before submitting their application.
Check on this article for details on how to set this up efficiently: Screening Questions
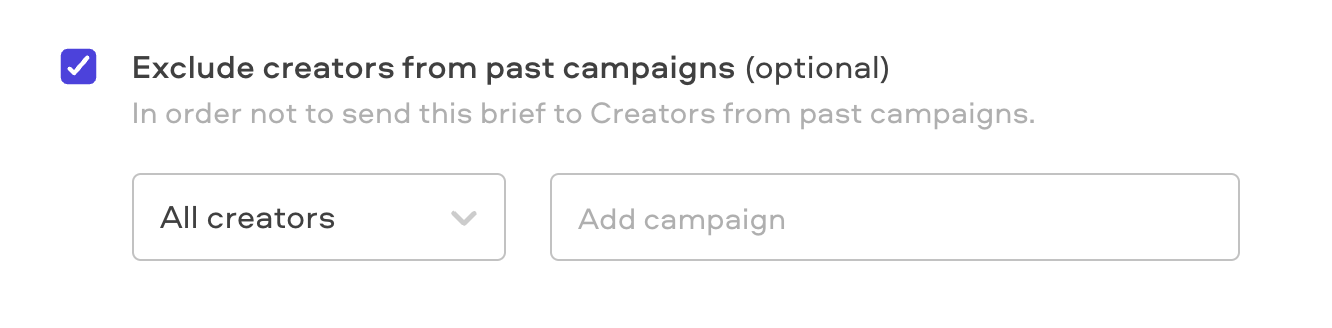
14. Exclude creators from past campaigns (optional)
Choose whether you want to exclude all creators or hired creators from past campaigns, so they are not considered for matching on this one.
15. Manually picking creators (optional for public campaigns)
Browse the marketplace and add the creators you want to invite to your campaign. Note that this is mandatory on a private campaign and optional on a public campaign.
16. Adding new Creative Assets
Click on “+ Add creative” to add a creative asset requirement for your campaign.
17. Setting up a video asset
To add a video creative asset, you must first select “Video” and then fill the following fields:
-
Posting/not posting
-
Where it should be posted (e.g. feed)
-
Video format
-
Video length
-
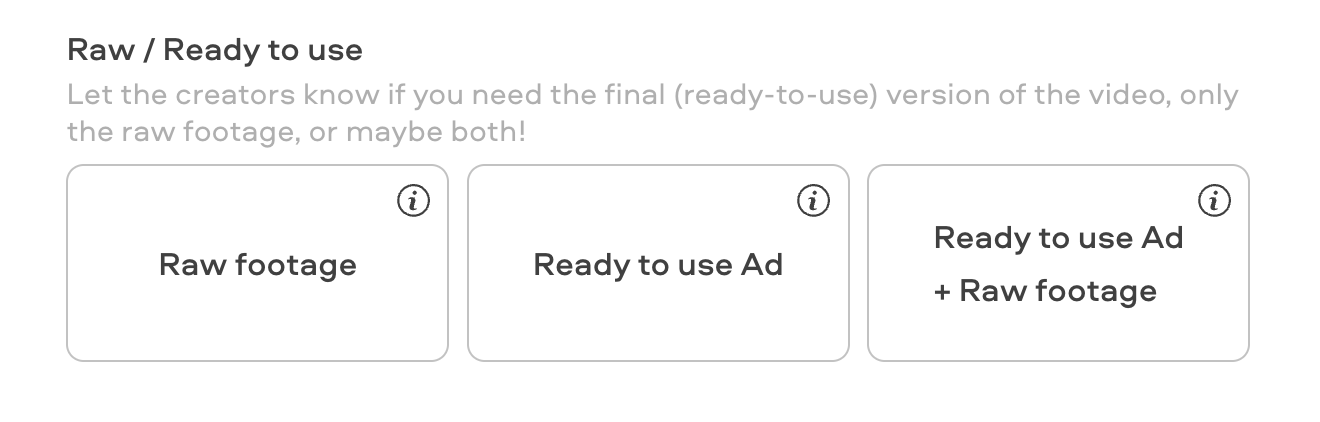
Raw footage, edited version or both
After this, you will be prompted to detail more about the asset:
-
Music;
-
Content Type (you can read more about it here);
-
What should creators do?;
-
Don’ts (optional);
-
Upload reference content (optional).
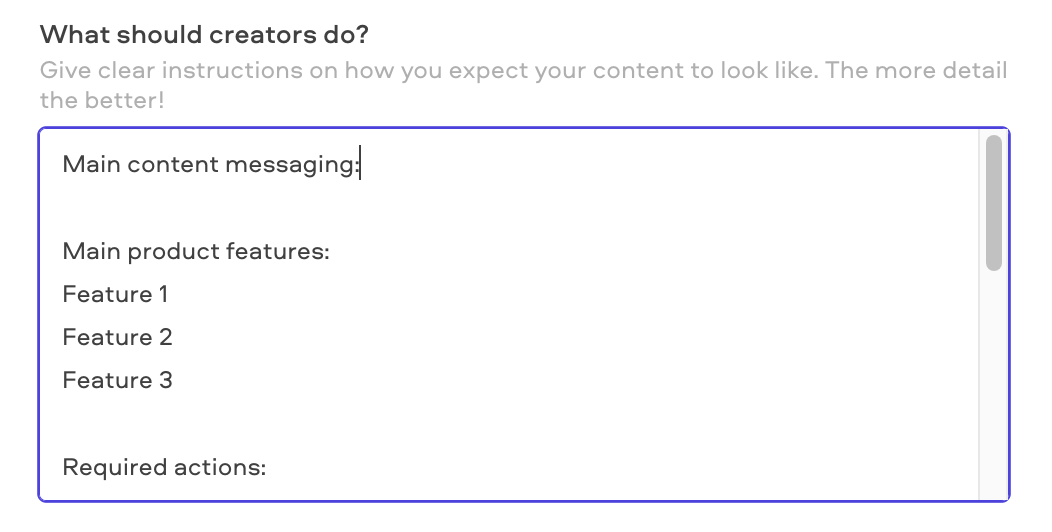
What should Creators do?
Paying close attention to this field is crucial to ensure that creators understand your requirements and goals for the content they will create.
This field will be automatically pre-populated based on the Content Type you've selected. Be sure to add your own script and clear instructions for the creator to follow, including hooks, CTAs to use, shot lists, specific phrases, and more.
Here are some resources to help and inspire you:
Once you are done, click on “Save” to add your creative asset.
18. Setting up a photo asset
To add a photo asset, you must first select “Photo” and then fill the following fields:
-
Number of photos;
-
Posting/not posting;
-
Format.
Once you have selected those, you will be prompted to choose:
-
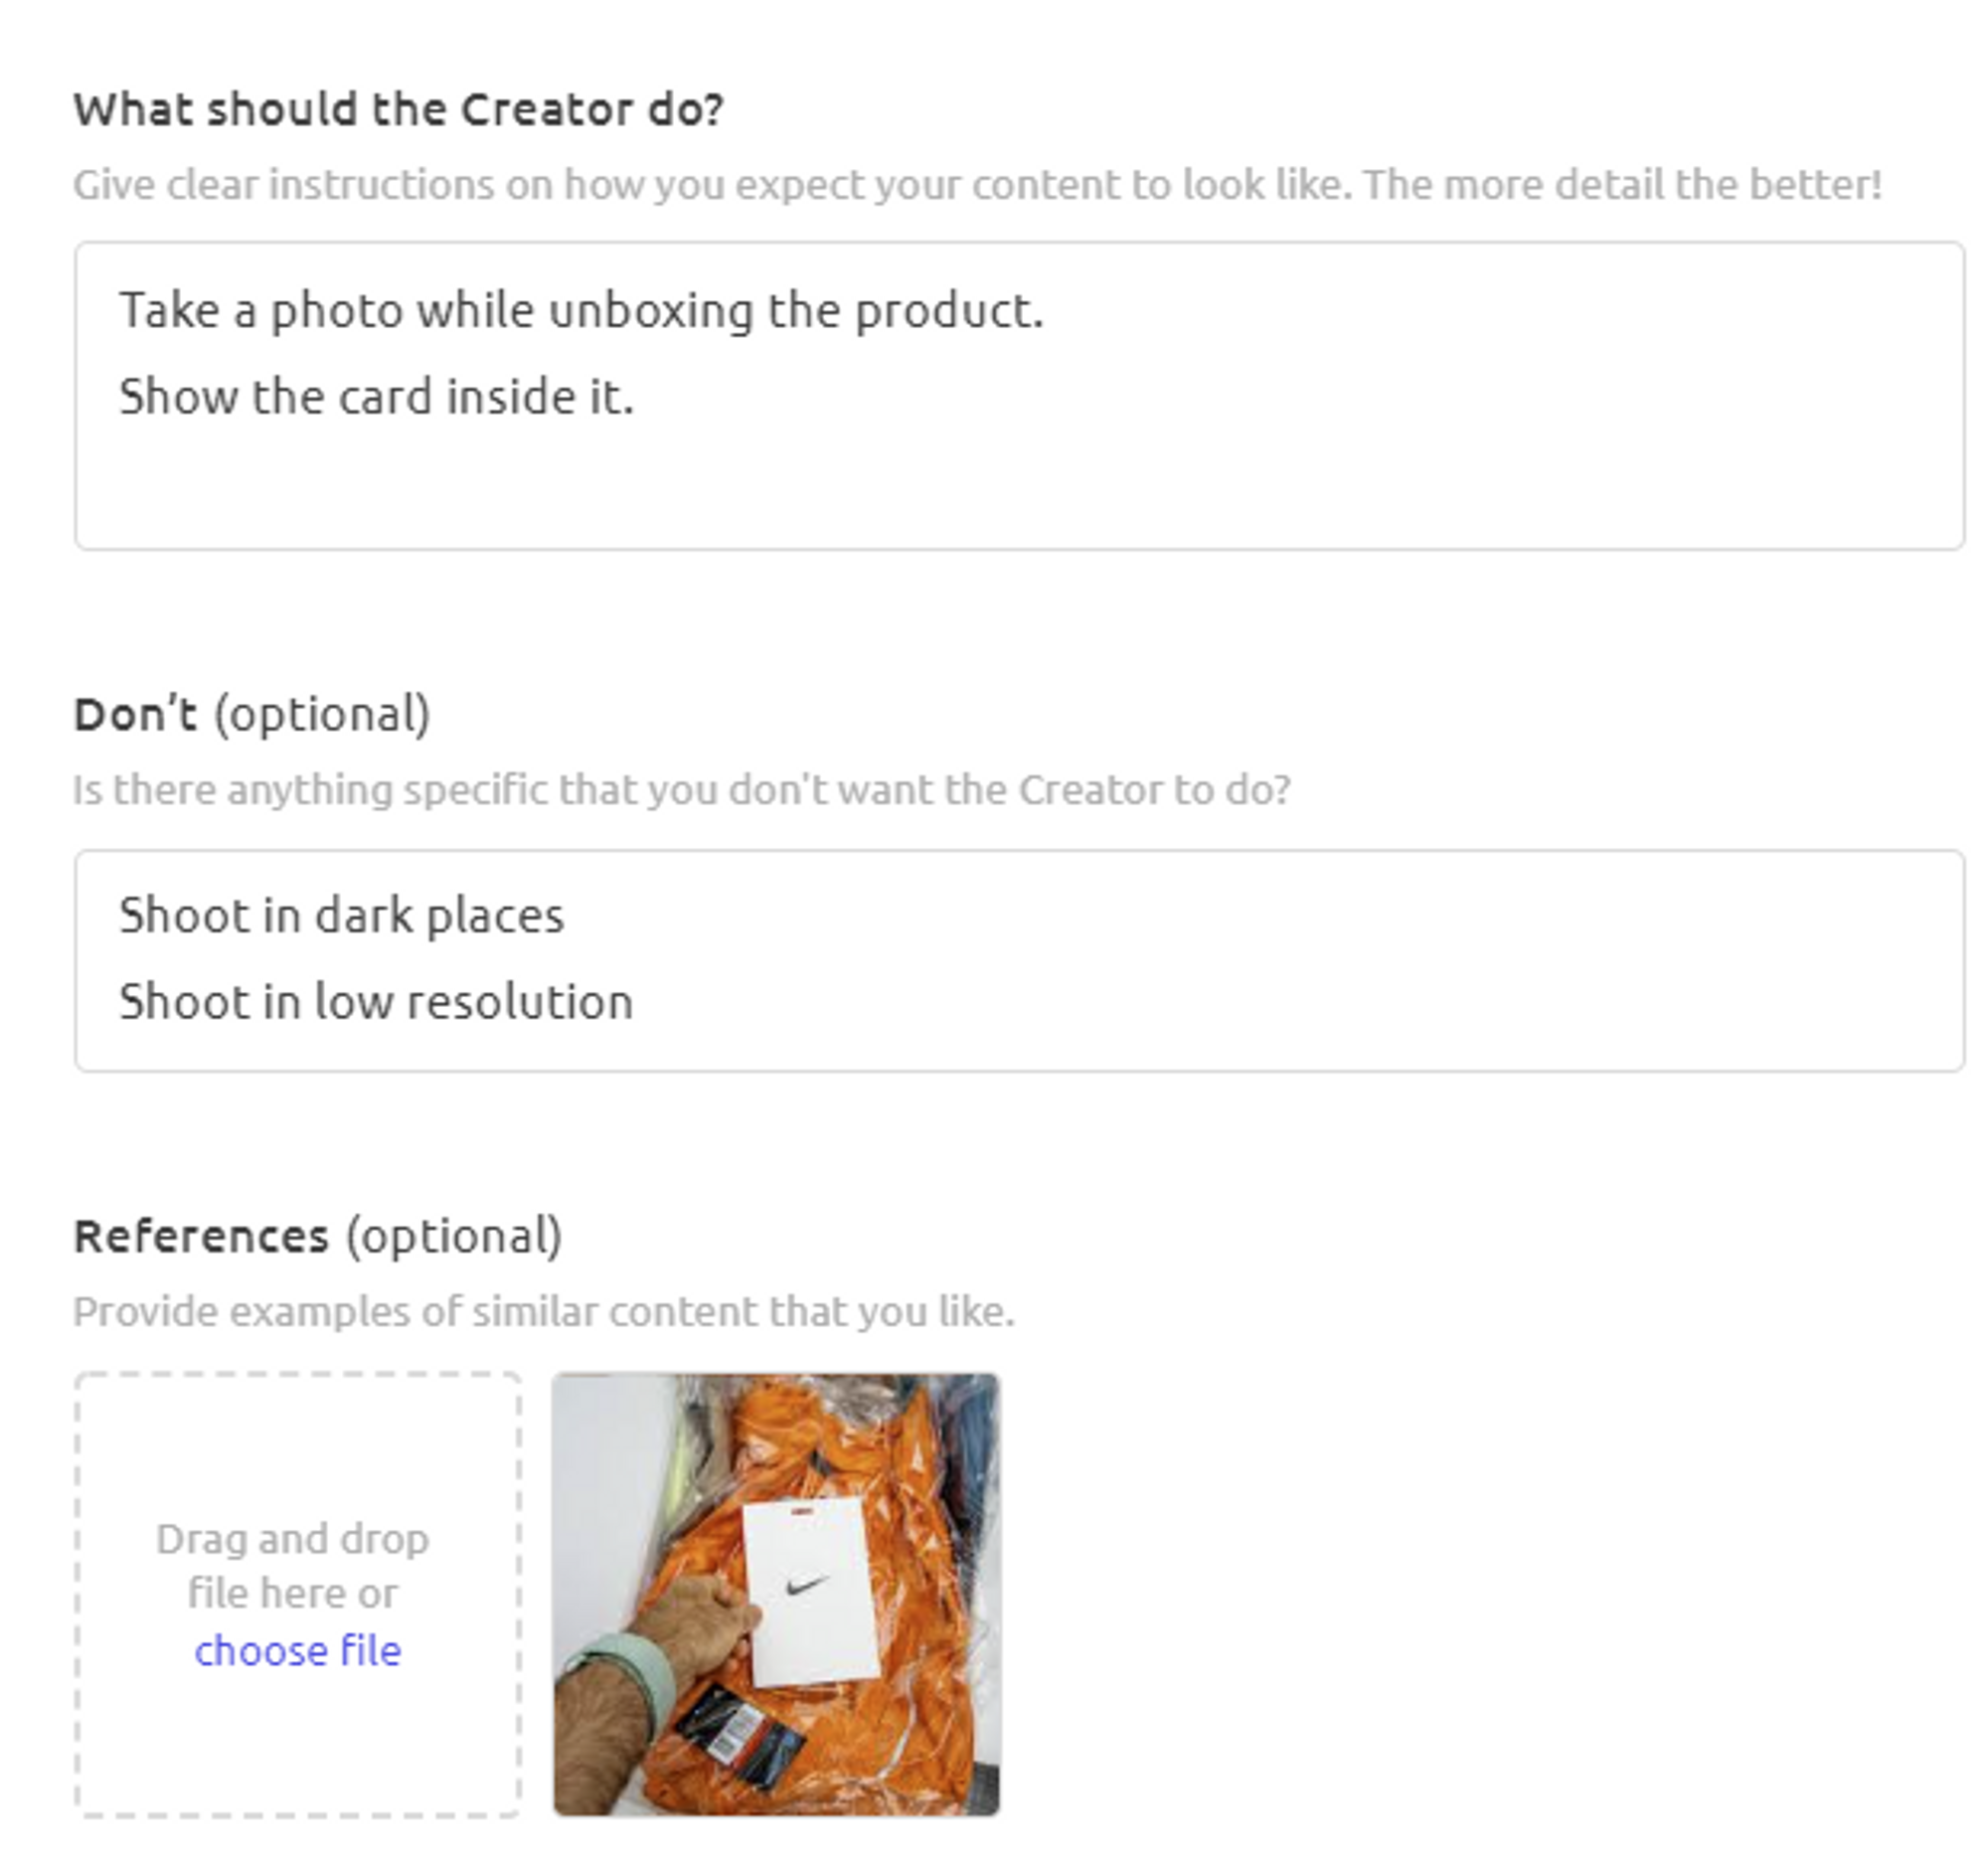
What should creators do?;
-
Don’ts (optional);
-
Upload reference content (optional).
Once you are done, click on “Save” to add your creative asset.
19. Duplicating/deleting/editing assets
Click on the trash can icon to deleting an asset. Then confirm by clicking on “Yes, delete creative”.
Click on the “copy” icon (next to the trash can) to duplicate an asset.
Click on the “Edit” button to edit the existing asset.
20. Additional options
Additionally, you can tell the Creators if you want them to tag your Brand or use any specific hashtags in their posts for your campaign.
21. Sending the Brief for review
Once you have finished filling out the brief, you can send it to review, by clicking the button in the top-right corner, "Send to review". Our team will check everything is ok and set it live, or reach out to you if any adjustments need to be made.

Now it's up to you!
You're now equipped with everything you need to know in order to build a well-made Brief for your campaign on Insense. Let's put it in practice?
Related Articles
How to choose the right creators for your campaign
How much should I pay creators?
How do I modify a brief that is already launched?
My campaign has been in moderation for longer than 24 hours, what should I do?
We're here to help! For any further assistance, click the chat bubble in the bottom corner and send us a message. Or feel free to reach out to us at hello@insense.com.
We're just a message away!